How to Fix Sound Problems in Windows 11 – Complete Step-by-Step Guide
By Jon | 10 March, 2026
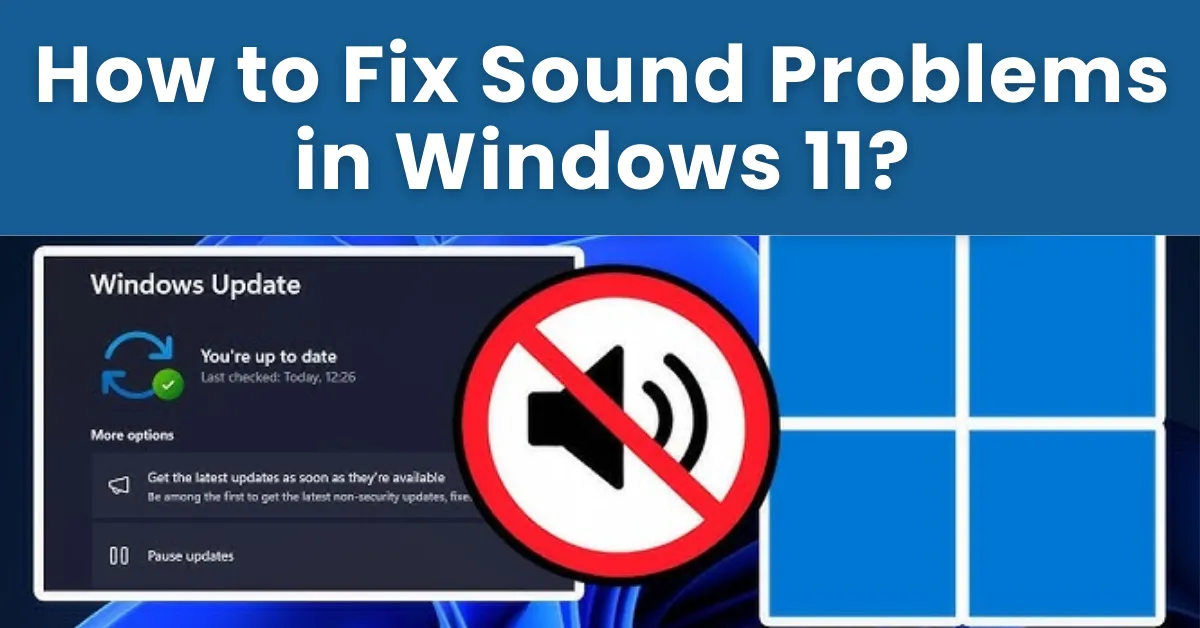
Table of Contents
- Why Does Sound Stop Working on Windows 11?
- Quick Fixes to Try First
- Step 1: Check Your Audio Output Device
- Step 2: Run the Windows Audio Troubleshooter
- Step 3: Restart the Windows Audio Service
- Step 4: Update or Reinstall Audio Drivers
- Step 5: Disable Audio Enhancements
- Step 6: Turn Off Exclusive Mode
- Step 7: Fix HDMI Audio Not Working
- Step 8: Install Windows Updates
- Step 9: Test Your Sound
- Frequently Asked Questions
Why Does Sound Stop Working on Windows 11?
One moment your PC is playing music perfectly, and the next — total silence. Or maybe the sound is crackling, distorted, or simply coming from the wrong device. If you're dealing with Windows 11 sound not working, you're not alone. Audio issues are one of the most common problems after a Windows 11 install or update.
The good news? In the vast majority of cases, these problems are completely fixable without calling a technician. Windows 11 manages a surprisingly complex set of audio paths — speakers, headsets, Bluetooth, HDMI, USB DACs — and it only takes one wrong setting to break things. This guide walks you through every proven fix, in the right order, so you can get your sound back as fast as possible.
The most common causes of sound problems in Windows 11 include:
- Wrong output device selected after a Windows update or hardware change
- Muted or very low volume in the Volume Mixer
- Outdated, corrupted, or incompatible audio drivers
- Windows Audio service stopped running in the background
- Audio enhancements or exclusive mode causing conflicts
- Missing Windows updates that include audio patches
Quick Fixes to Try First
Before diving into deeper settings, run through this 2-minute checklist. Most simple sound problems are solved right here:
| # | Quick Check | How to Do It |
|---|---|---|
| 1 | Check volume isn't muted | Click the speaker icon on the taskbar and drag the slider up |
| 2 | Check physical connections | Unplug and re-plug speakers or headphones; try a different port |
| 3 | Restart your PC | A simple reboot fixes transient driver and service glitches |
| 4 | Test hardware on another device | Plug your headphones into a phone to rule out hardware failure |
| 5 | Check app volume in Volume Mixer | Right-click speaker icon → Open Volume Mixer → check each app |
Step 1: Check Your Audio Output Device
Windows 11 can silently switch your audio output to a different device after a system update, when you plug in or unplug hardware, or when waking from sleep mode. This is one of the single most common reasons for sudden silence.
- Go to Settings → System → Sound.
- Under Output, click the dropdown and select your speakers or headphones.
- Click the selected device and drag the Volume slider to confirm you hear a test tone.
Alternatively, right-click the speaker icon on the taskbar and select Sound settings. Look for the arrow next to the volume slider — clicking it shows all connected audio devices so you can switch instantly.
Step 2: Run the Windows Audio Troubleshooter
Windows 11 has a built-in audio troubleshooter that can automatically detect and fix many common problems — including disabled devices, wrong default device selection, and basic driver conflicts. It takes about 30 seconds and should always be your second stop.
- Open Settings → System → Troubleshoot → Other troubleshooters.
- Find Playing Audio and click Run.
- Follow the on-screen instructions and apply any suggested fixes.
- Restart your computer after the troubleshooter finishes.
You can also reach the troubleshooter faster by right-clicking the speaker icon on your taskbar and selecting Troubleshoot sound problems.
Step 3: Restart the Windows Audio Service
Behind every sound on your Windows 11 PC is a background service called Windows Audio. If this service crashes or stops — which can happen after updates or system stress — you'll get complete silence even though everything else looks fine.
- Press Windows + R, type
services.msc, and press Enter. - Scroll down to Windows Audio in the list.
- Right-click it and select Restart.
- Do the same for Windows Audio Endpoint Builder.
- Also restart Remote Procedure Call (RPC) if it appears stopped.
After restarting the services, test your sound immediately.
Step 4: Update or Reinstall Audio Drivers
Audio drivers are the bridge between Windows and your sound hardware. Outdated, missing, or corrupted drivers are responsible for a huge percentage of Windows 11 sound problems — especially after a major Windows update that may have replaced a working driver with an incompatible one.
- Press Windows + X and select Device Manager.
- Expand Sound, video and game controllers.
- Right-click your audio device (e.g., Realtek High Definition Audio) and select Update driver.
- Choose Search automatically for drivers and follow the steps.
- Restart your PC after the update completes.
- In Device Manager, right-click your audio device and select Uninstall device.
- Check the box to Delete the driver software for this device if shown.
- Restart your PC. Windows will automatically reinstall a fresh driver on reboot.
Step 5: Disable Audio Enhancements
Windows 11 includes audio enhancements designed to improve sound quality. In reality, these enhancements frequently cause crackling, distortion, and complete audio dropouts — especially with third-party audio devices. Turning them off is a fast, safe fix.
- Go to Settings → System → Sound.
- Click your output device under Output.
- Scroll to Advanced settings and set Audio enhancements to Off.
- Click Apply and test your sound.
You can also do this via the classic Control Panel: Control Panel → Sound → Playback → right-click your device → Properties → Enhancements tab → check "Disable all enhancements".
Step 6: Turn Off Exclusive Mode
Exclusive mode allows certain apps to take full control of your audio device and block all other audio. This is useful for professional audio software, but it frequently causes issues where sound works in one app but not in others — or disappears entirely when you switch applications.
- Open Control Panel → Hardware and Sound → Sound.
- On the Playback tab, right-click your default device and select Properties.
- Go to the Advanced tab.
- Uncheck "Allow applications to take exclusive control of this device".
- Click Apply, then OK.
Step 7: Fix HDMI Audio Not Working
If you're connecting to a monitor or TV via HDMI and getting no sound, the issue is usually that Windows hasn't set your display as the default audio output, or your graphics driver needs an update.
- Go to Settings → System → Sound → Output.
- Select your HDMI device (usually labeled with your monitor or TV model, or "Digital Output").
- If it doesn't appear, right-click the speaker icon → Sound settings → scroll to More sound settings → on the Playback tab, right-click in the list and select Show Disabled Devices. Enable your HDMI device if it appears.
- Also update your GPU drivers (NVIDIA, AMD, or Intel) from the manufacturer's website, as these handle HDMI audio output.
Step 8: Install Pending Windows Updates
Microsoft regularly releases updates that include audio bug fixes. If your sound broke after a recent update, it's also possible that a follow-up patch has already been released to fix the exact issue you're experiencing.
- Go to Settings → Windows Update and click Check for updates.
- Also click Advanced options → Optional updates — audio driver updates often appear here rather than in the main update list.
- Install all available updates and restart your PC.
Step 9: Test Your Sound
Once you've applied a fix, always confirm it actually worked before closing settings:
- Go to Settings → System → Sound, select your output device, and click Test to play a test tone.
- Open the Voice Recorder or Media Player app and play a file.
- Use the free online sound test tool at mictest.pro to quickly verify your speakers or headphones are working correctly from your browser.
If sound is still not working after completing all the steps above, the issue may be hardware-related — a faulty audio jack, damaged speaker, or a problem at the BIOS level where the audio device may be disabled. In that case, check your device manufacturer's support page or BIOS settings for an "Audio" or "Integrated Audio" option and make sure it is enabled.
Frequently Asked Questions
Why is there no sound on my Windows 11 PC?
Sound may stop working due to a wrong audio output device being selected, a muted volume level, outdated or corrupted audio drivers, or a Windows update that reset your audio settings. Start by checking your output device in Settings → System → Sound, then work through the driver and service steps in this guide.
How do I run the audio troubleshooter in Windows 11?
Go to Settings → System → Troubleshoot → Other troubleshooters and click Run next to Playing Audio. You can also right-click the speaker icon on the taskbar and select Troubleshoot sound problems for a faster shortcut.
How do I update audio drivers in Windows 11?
Open Device Manager (Windows + X), expand Sound, video and game controllers, right-click your audio device, and select Update driver. For the most reliable fix, download the official driver directly from your laptop or motherboard manufacturer's support page instead of relying on Windows to find it automatically.
Why does my sound cut out randomly on Windows 11?
Random audio dropouts are most often caused by audio enhancements conflicting with your hardware, exclusive mode allowing an app to hijack the audio device, or USB power-saving settings interrupting USB audio devices. Disabling audio enhancements and turning off exclusive mode (both covered in this guide) resolves this in most cases.
Why is my HDMI audio not working on Windows 11?
Windows may not have set your monitor or TV as the default playback device. Go to Settings → System → Sound → Output and select your HDMI device. If it doesn't appear in the list, open More sound settings → Playback tab, right-click and enable "Show Disabled Devices" to find and re-enable it. Updating your GPU drivers also helps.
How do I restart the Windows Audio service?
Press Windows + R, type services.msc, and press Enter. Find Windows Audio in the list, right-click it, and select Restart. Repeat for Windows Audio Endpoint Builder. This can instantly restore sound if the service crashed in the background.
Why did my sound stop working after a Windows 11 update?
Windows updates sometimes replace existing audio drivers with generic versions that are less compatible with your hardware, or reset your privacy and sound settings. The quickest fix is to uninstall the audio device from Device Manager and restart — Windows will reinstall it fresh. Also check for optional driver updates under Windows Update → Advanced options.
How do I fix crackling or distorted sound in Windows 11?
Crackling and distortion are almost always caused by audio enhancements. Go to Settings → System → Sound, click your output device, scroll to Advanced settings, and set Audio enhancements to Off. Also check that the sample rate and bit depth in your device's Advanced properties match your hardware's specifications.
How do I select the correct audio output device in Windows 11?
Go to Settings → System → Sound → Output and choose the correct device from the dropdown. Windows 11 can switch this automatically when you plug in new hardware, connect to a display, or install updates — so it's always worth checking here first when sound disappears suddenly.
How can I test if my speakers are working on Windows 11?
Go to Settings → System → Sound, click your output device, and press Test. You should hear a chime from each speaker. For a more thorough test, visit the free online sound test at mictest.pro — it tests your speakers directly from your browser in real time, no installation required.
Related Posts
Test Your Sound Now
After fixing your sound settings, use our free online sound test to confirm everything is working perfectly.
Run Sound Test